Common Problems
How to Turn On a Bertazzoni Gas Oven: the Sequence Nobody Guesses
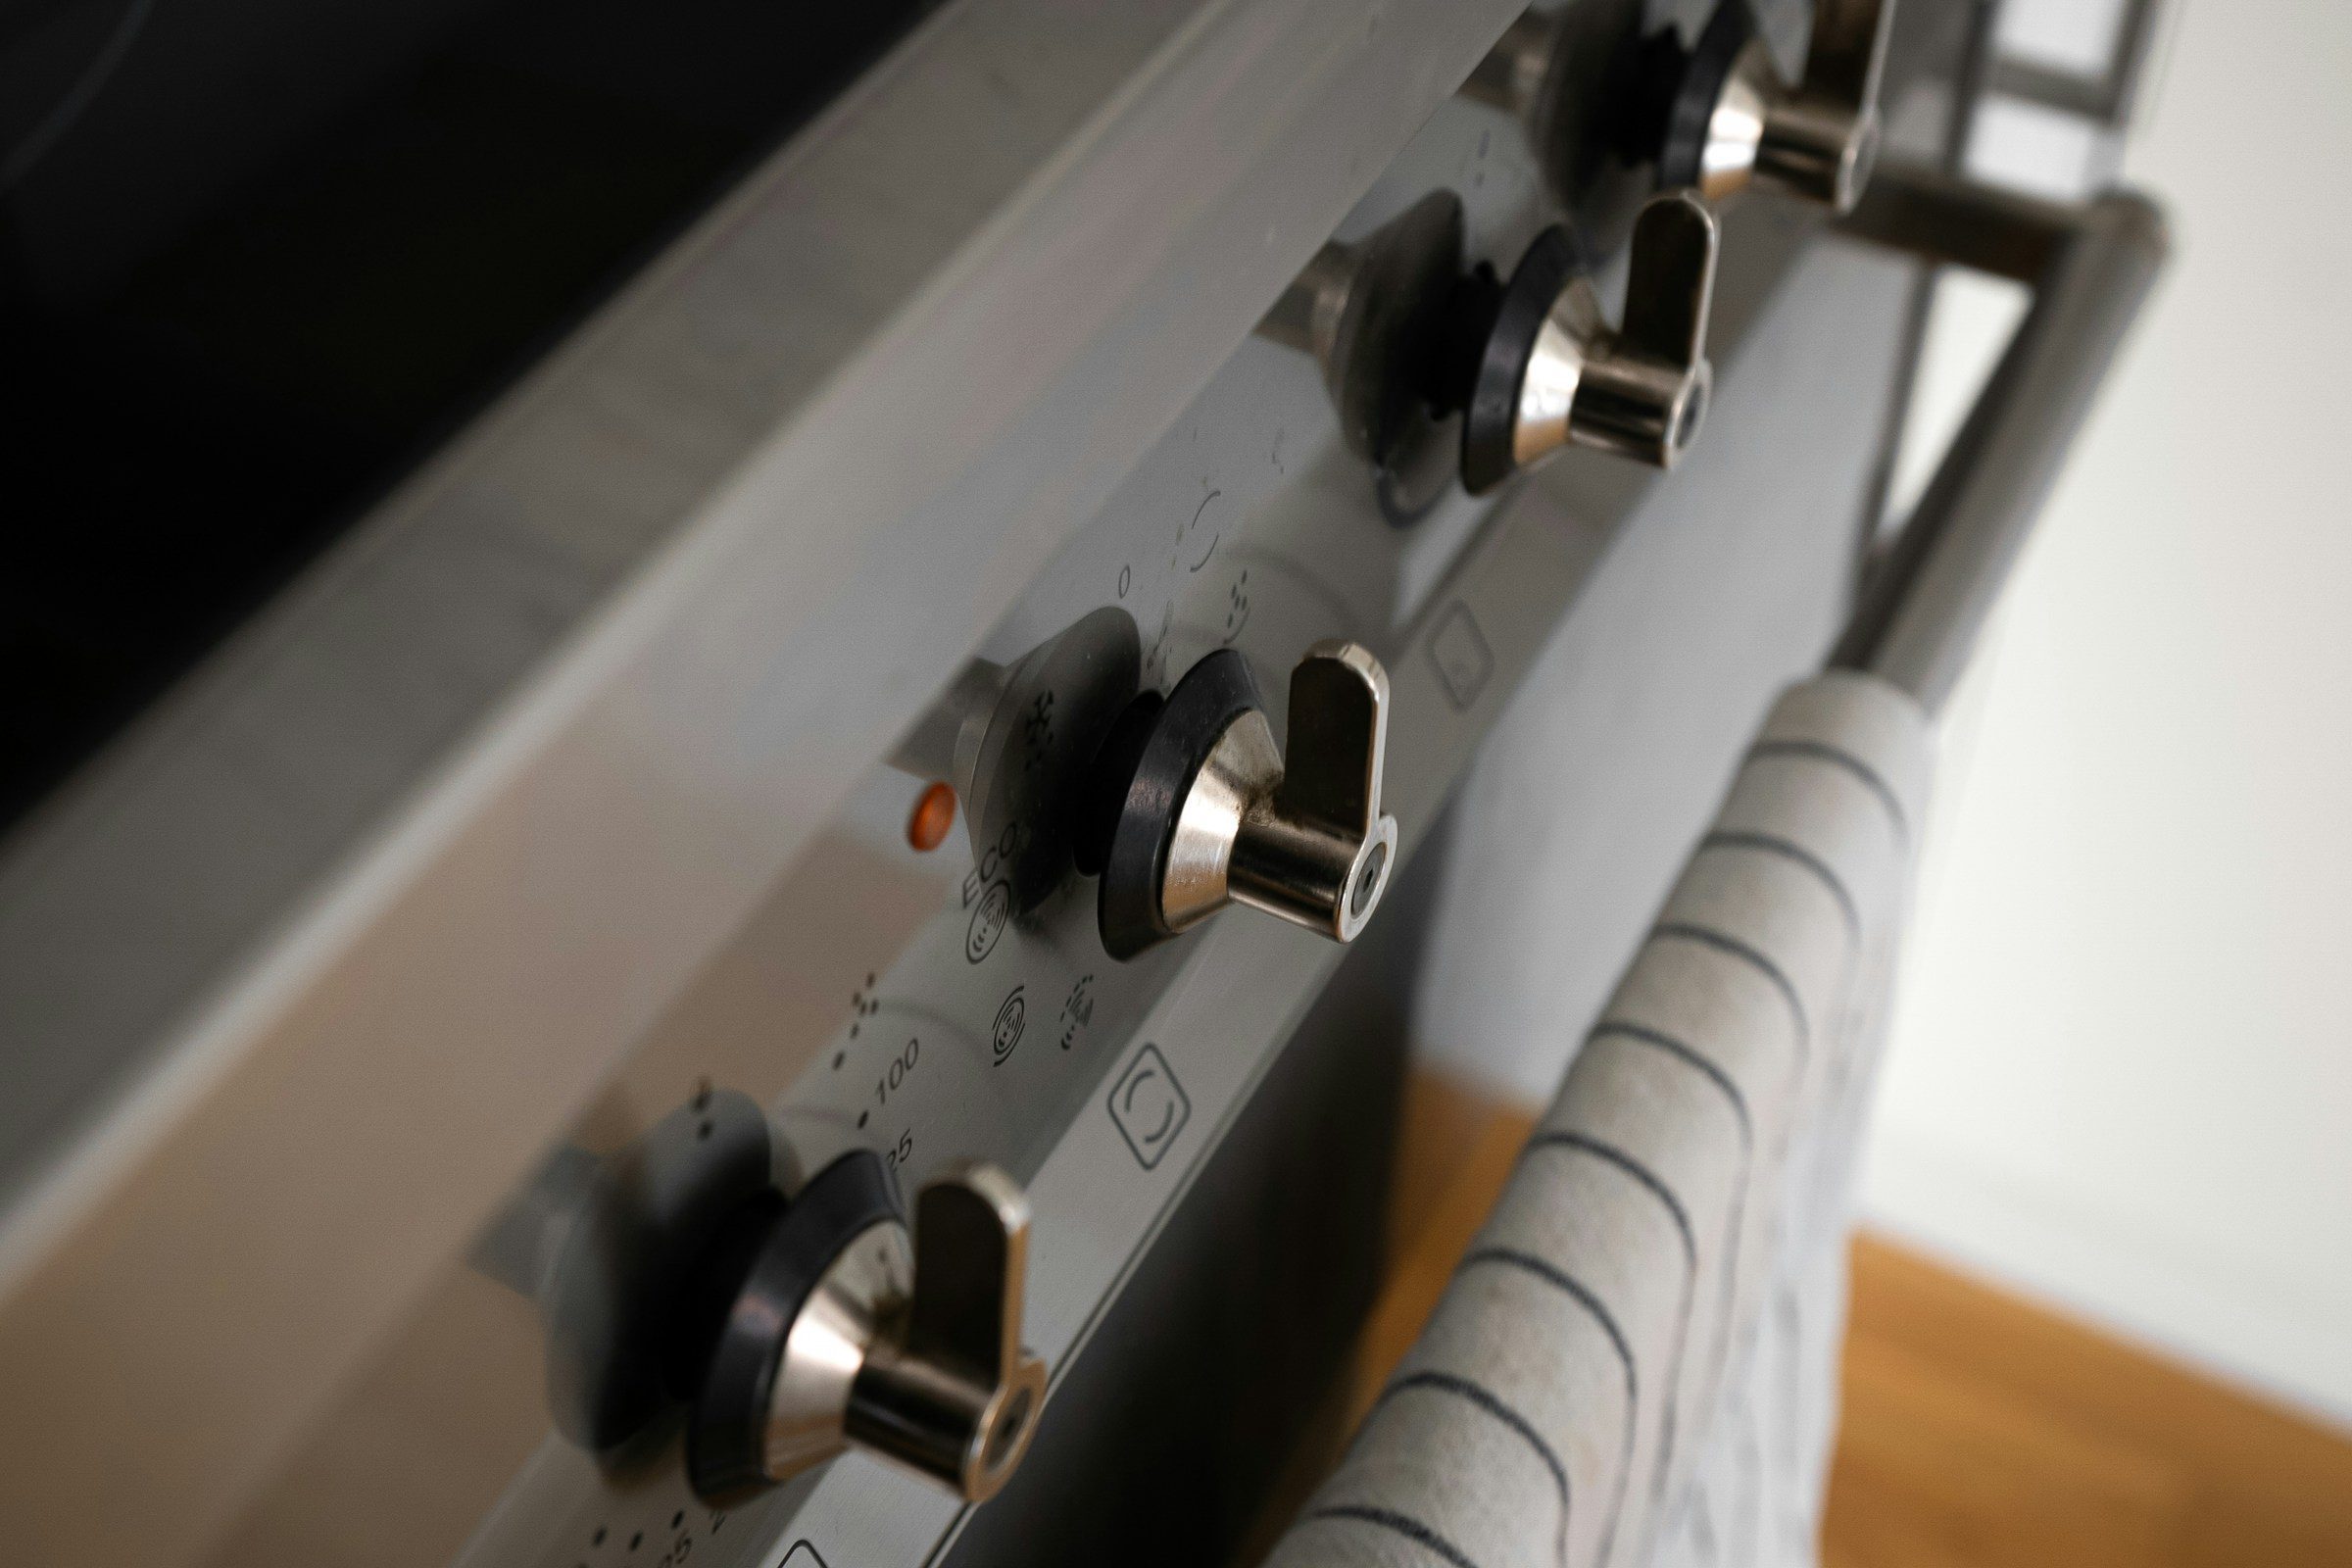
Open the oven door. Press the thermostat knob in, hold it for about two seconds, release it, then turn it counter-clockwise all the way to maximum. That last part is what nobody guesses: maximum gives both the most gas and the most air, which is what heats the thermocouple enough to hold the safety valve open. Wait for the ticking to stop, which means the burner has lit and the flame is being sensed, and only then turn the knob back to the temperature you actually want and close the door. For the broiler the sequence is identical except that the knob goes clockwise to the broil setting. If you want convection, light the oven first and then turn the function knob to convection — not the other way round. An oven that lights and dies the moment you let go of the knob is not failing to ignite; it is failing to sense the flame, which is a different problem and a different part.
The full guide
How do I turn on a Bertazzoni oven? Press, release, then straight to maximum
This is the most common "problem" on a gas range from this maker, and it is not a problem at all.
The sequence is published by the maker and it is not the one people expect. Press the thermostat knob in, hold it for about two seconds, release it, and only then turn it counter-clockwise all the way to maximum. Wait until the ticking stops. Then reduce to the temperature you actually want and close the door.
Why maximum, when you wanted 350
Because you are not setting a cooking temperature yet. You are heating a small metal tip.
Every gas burner on this equipment has a thermocouple — the maker calls it a safety device and that is exactly what it is. Its job is to prove there is a flame. Until it is properly hot, it will not hold the gas valve open, and the moment you release the knob the gas shuts off.
Maximum gives the burner both the most gas and the most air, and that combination is what produces a flame hot enough to convince the thermocouple within a few seconds. At 300°F the flame is smaller, the thermocouple warms slowly, and an oven lit that way goes out as soon as your hand leaves the knob.
The four or five seconds you spend at maximum are the whole trick.
The same thing on the surface burners
If your top burners take two or three attempts, that is the same mechanism and the maker says so itself.
Turn the knob to the highest flame setting, keep it pressed with the flame on high for four to five seconds, then release. That is long enough for the thermocouple beside the spark electrode to reach temperature. Released at two seconds, on a low setting, the burner dies — and it dies just as reliably on a brand-new appliance as on a fifteen-year-old one.
This is worth knowing before booking anybody, because "my burner needs three goes" is the single commonest call that ends with nothing repaired.
Broiler and convection
The broiler lights the same way with one difference: the knob goes clockwise to the broil setting rather than counter-clockwise to a temperature.
Convection has an order to it. Light the oven first, then turn the function knob to convection. Setting convection before the oven is lit is a common way to end up with a fan running in a cold cavity and a conclusion that the oven is broken.
When it genuinely is a problem
Three behaviors are not technique:
It ticks and never lights. The spark is happening; gas is not arriving where the spark is. If your top burners are fine, the supply to the appliance is fine and the problem is the oven's own valve or ignition.
It lights and dies even after five full seconds at maximum. The burner is igniting and the flame is not being sensed. That is a thermocouple or a safety valve, and it is measured rather than guessed at.
It used to light first time and now takes several. The gradual version of the same problem, and the earliest warning you will get. An ignition system that is drifting gives months of notice before it stops.
What to have ready if you do call
The model number, which on a range is behind the kick panel at the bottom rather than anywhere convenient. Whether the top burners work. Whether it is bake, broil or both. And whether the behavior is "never" or "eventually" — those are different problems and they travel with different parts.
If it turns out to be a repair
What this leads to, and what it costs
Every job on this site is priced the same way: an on-site diagnostic first, the figure agreed in writing before anybody starts.
-
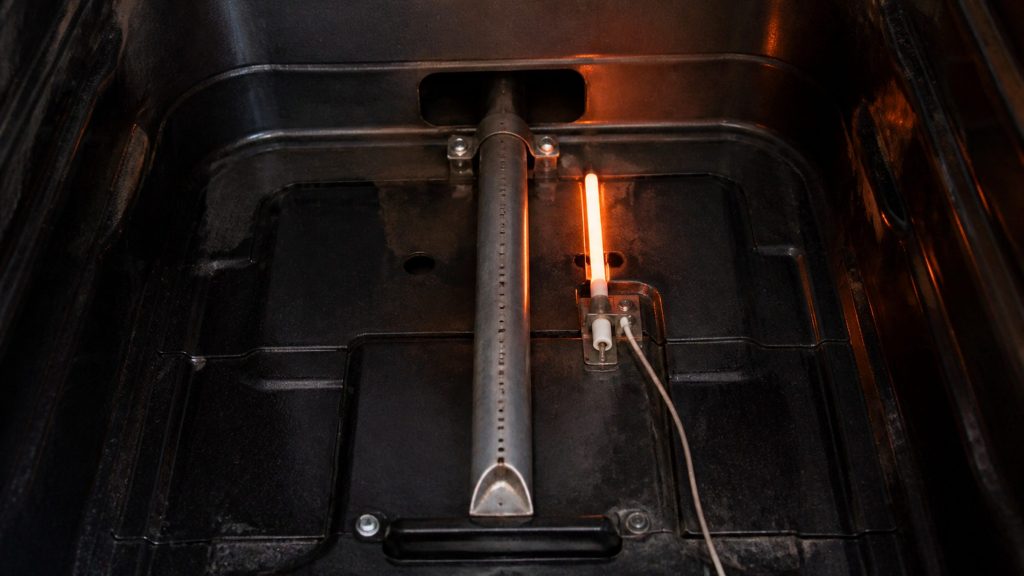
It glows, and that is not the same as working Gas oven igniter not working
Eleven of the ranges in this line are all gas, which means the oven is a burner too. An oven that glows and never lights is the most misdiagnosed repair on a gas range, and the reason is that the igniter is also the switch.
- Glows orange and no flame follows
- Lights sometimes, usually when the kitchen is warm
- Takes longer and longer to catch
-
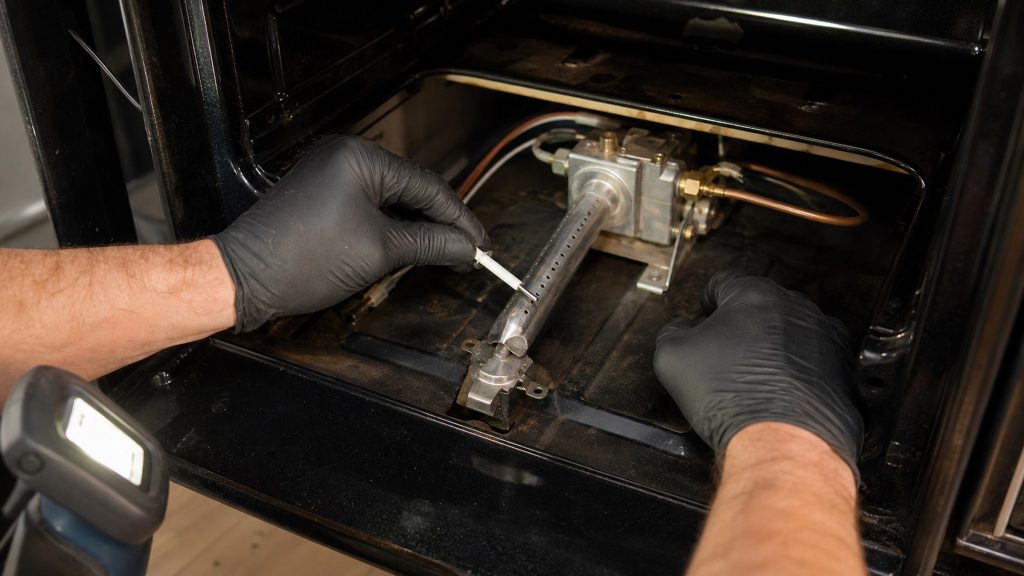
from $195 Gas oven ignition & safety valve repair
Eleven of these ranges are all gas, which means the oven is a burner too. A gas oven that will not heat is almost never the control and almost always the igniter and the safety valve working as a pair — and it is a repair that has to be done in the right order to be done safely.
- Igniter current measured under load, not judged by whether it glows
- The safety valve treated as half of the same circuit
- A full cycle watched from cold before we leave
-
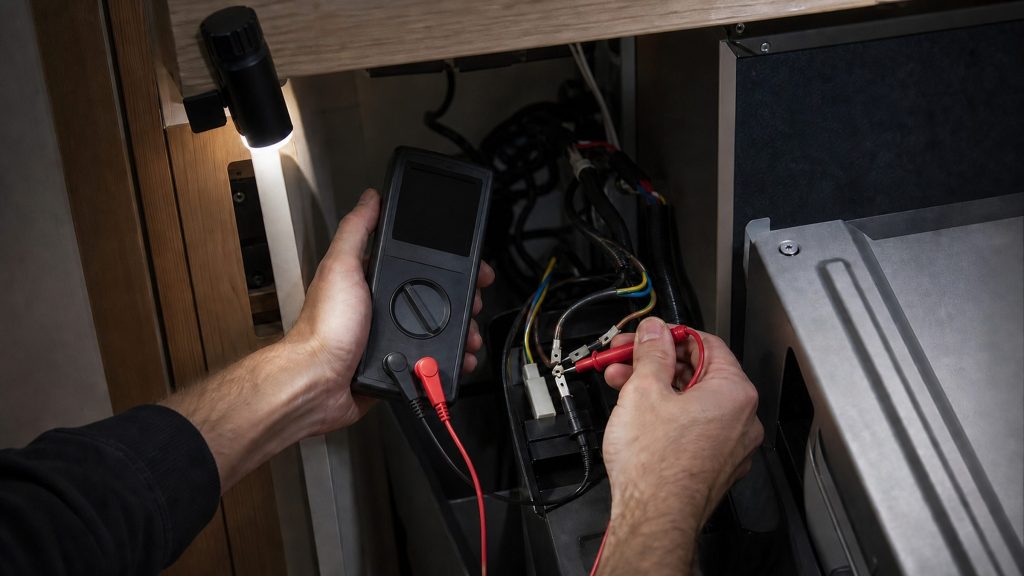
from $95 Diagnostic visit
We work out what is actually wrong before anybody quotes a part. On this make that usually means measuring rather than reading, because most of these appliances report nothing at all when they stop. The fee is credited toward the work when you go ahead.
- Measured rather than guessed — resistance, current, temperature, airflow
- The free causes checked first, before any part is named
- Credited toward the repair
Questions people ask about this
Why does it have to go to maximum first?
Because maximum opens the gas fully and gives the burner the most air, and that combination produces the hottest flame at the thermocouple. The thermocouple is the safety device: until it is properly hot it will not hold the gas valve open, so a burner lit at 300°F and released too early goes straight out. Lighting at maximum and reducing afterwards is the maker's own instruction, not a workaround.
It lights, and goes out the second I let go of the knob.
That is flame sensing rather than ignition, and it is worth saying on the phone because it names the part. The burner is lighting; what is not happening is the thermocouple confirming the flame. Try holding the knob at maximum for a full five seconds before releasing. If it still dies, the thermocouple or the safety valve is the cause.
Do I keep the door open the whole time?
Only while lighting. The door is open so you can see the burner catch and so the ticking is audible; once it is lit and the knob is back at your cooking temperature, close it. Leaving it open changes how the oven cycles and how long preheat takes.
Mine ticks and never lights at all.
Ticking with no flame means the spark is happening and gas is not arriving, or is not arriving where the spark is. Check that the top burners still work — if they do, the supply to the appliance is fine and the problem is downstream, in the oven's own valve or ignition. That is a service call rather than a technique problem.
Is there a pilot light?
Not on the current line. These are spark-ignition ovens with a thermocouple safety device rather than standing pilots, which is why the sequence involves waiting for a ticking sound to stop rather than holding a match anywhere.
My range is dual-fuel. Does any of this apply?
Not to the oven. On a dual-fuel machine the cavity is electric — you set a temperature and it heats, with no lighting sequence at all. The gas sequence on this page applies to the surface burners on that machine, and to the ovens on the all-gas ranges.
Common Problems
More guides like this one
-
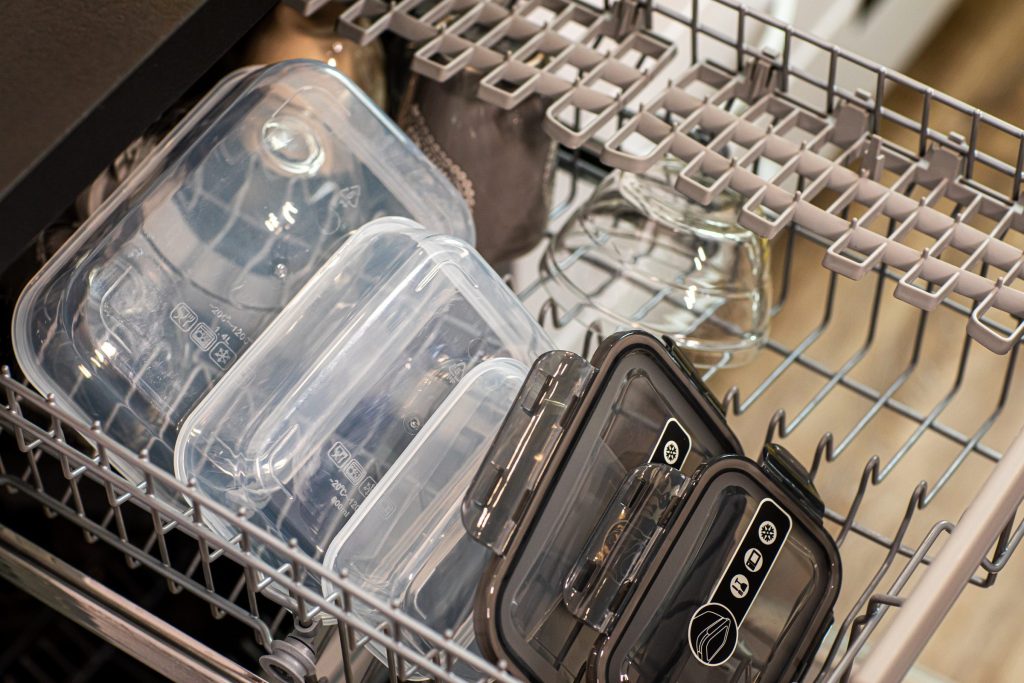
Dishes Come Out Wet: What a Bertazzoni Dishwasher Is Actually Doing
The maker's own answer is rinse aid plus the Extra Dry option, and it is right far more often than a heater problem is. Here is why plastics stay wet on a machine that is working perfectly.
Read more -
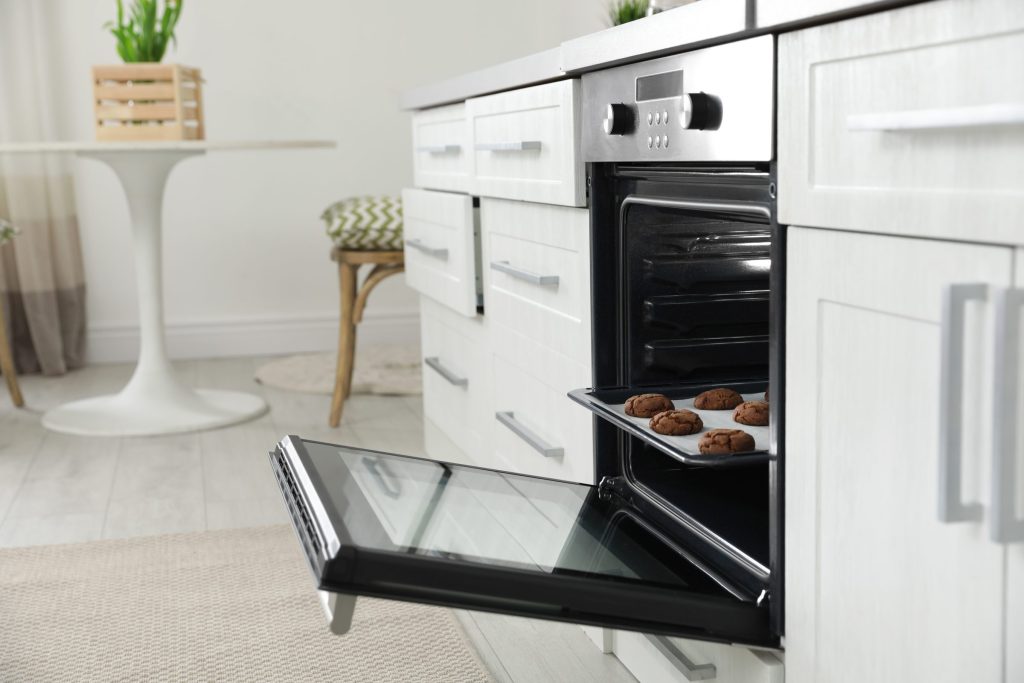
Oven Broils but Will Not Bake: What That Split Tells a Technician
A split problem names the part before anybody arrives. Broil works and bake does not, or the reverse, and either way half the appliance has just been eliminated from the diagnosis.
Read more -
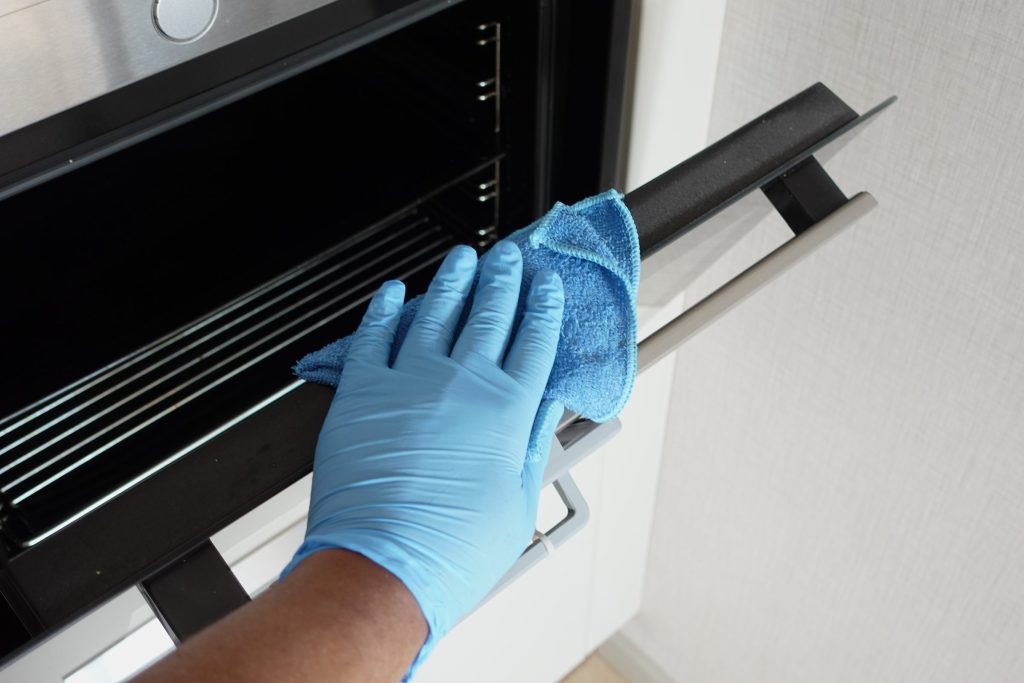
Why a Bertazzoni Oven Keeps Shutting Off, and Which Half of It Is Wrong
An oven that never heats and an oven that heats and then stops are different problems with different parts. On a gas machine the second one is nearly always flame sensing; on the electric half it is a thermal cut-out or a relay.
Read more
Tell us the model number and what it is doing.
This article is based on:
- Official manufacturer documentation
- Internal repair procedures
- Technician repair history
- Company quality standards